Overview of Stitching Techniques
Stitching techniques blend history, fabric choice, and skill. From ancient hand stitches to modern cross‑stitch kits, each method serves a purpose—seams, embellishment, or structure. Understanding tools, tension, and thread types unlocks creative possibilities across garments, décor, and art. Enjoy more.
Historical Evolution of Stitches
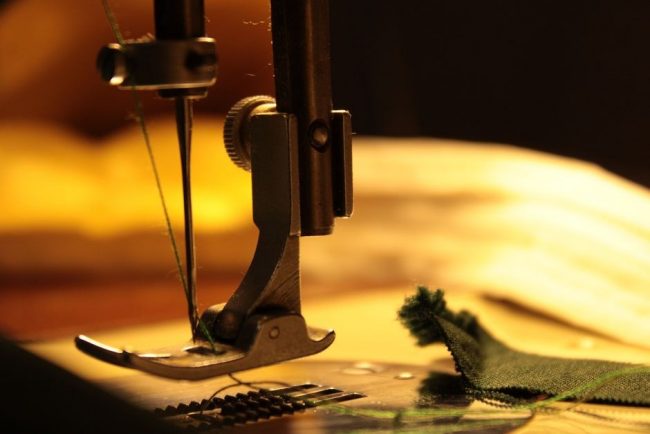
From the earliest needlework etched on bone to the intricate cross‑stitch patterns of today, the journey of stitching is a tapestry of culture, technology, and artistry. In the 19th century, the rise of machine‑made thread and the advent of the sewing machine democratized fabric manipulation, allowing hobbyists to experiment with running, back, and slip stitches in ways previously reserved for skilled artisans. By the early 2000s, online communities and downloadable kits—such as the 2026‑07‑25 cross‑stitch guide that details thread separation and hoop mounting—have made the craft accessible worldwide. Meanwhile, the resurgence of hand‑sewn basics, highlighted in 2025‑09‑08’s “19 Essential Hand Sewing Stitches,” underscores a renewed appreciation for tactile skill. The evolution from simple basting stitches described in 2025‑10‑02’s guide to modern embroidery overlays shows how each era builds on the last, blending tradition with innovation. During the Middle Ages, monks and nuns used simple running stitches to repair garments and create illuminated manuscripts. The Renaissance brought elaborate embroidery, with artists like Leonardo da Vinci sketching stitch patterns for tapestries. In the Victorian era, the industrial revolution introduced synthetic fibers, expanding the palette of colors and textures. The 20th century saw the rise of home sewing patterns, and the 1970s introduced the first cross‑stitch kits for hobbyists. Whether crafting a humble patch or a grand tapestry, the thread of history weaves through every stitch, ensuring that the art of stitching remains both rooted and forward‑looking. Keep stitching!!!
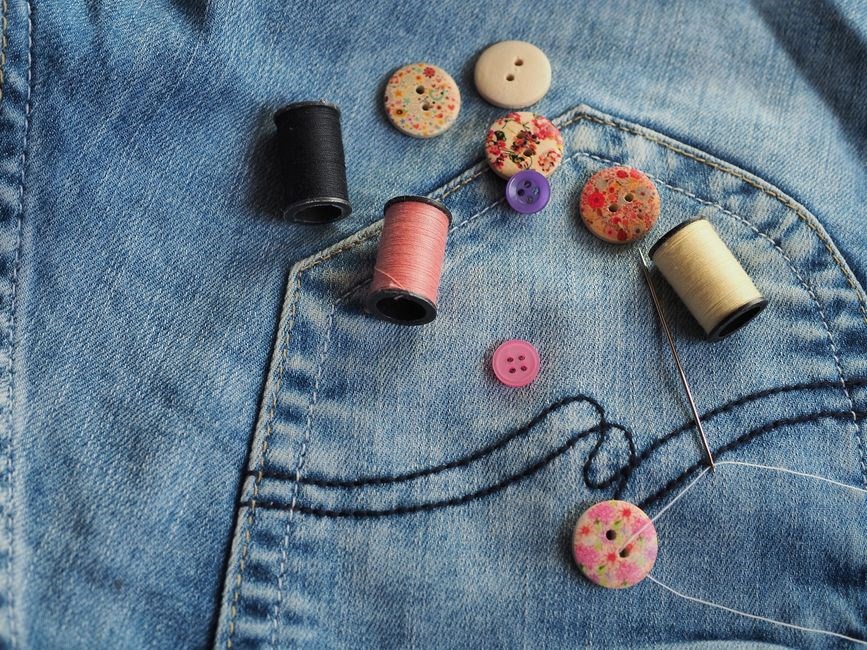
Types of Fabric for Stitches
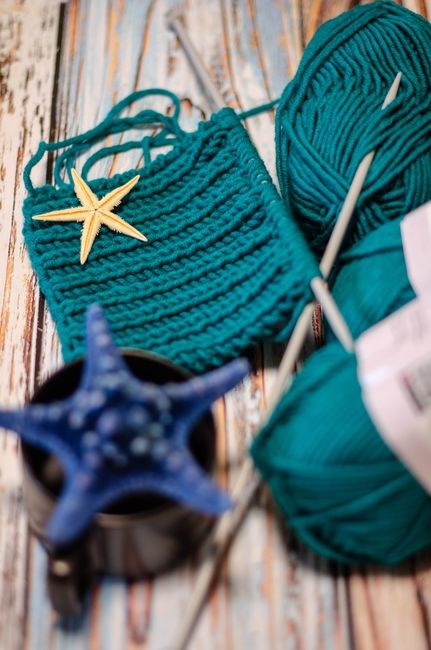
Choosing the right fabric is essential for any stitch project. Cotton muslin, the most common base for cross‑stitch kits, offers a smooth, even weave that holds thread tension well, as noted in the 2026‑07‑25 guide. Linen, with its natural strength, is ideal for heavier back‑stitch seams and decorative slip stitches, while synthetic blends like polyester provides durability for outdoor appliqués. For delicate embroidery, silk gauze or chiffon allows fine slip stitches to glide without puckering, a technique highlighted in the 2025‑09‑08 hand‑sewing manual. Denim’s rugged texture works well for rugged back‑stitch outlines, and felt—whether wool or synthetic—offers a forgiving canvas for anchor stitches and quick basting. The 2025‑10‑02 guide stresses that a tightly woven fabric reduces thread pull, making running stitches smoother. In contrast, a loosely woven canvas can create a looser, more textured look, perfect for artistic cross‑stitch patterns. Always test a small swatch before committing, as thread weight, fabric thickness, and weave density all influence stitch appearance and durability. Happy stitching!
When selecting fabric, consider the stitch length and the desired finish. A finer thread on a coarse weave may fray, while a heavier yarn on a delicate linen can bulk the design. Light cottons are ideal for quick basting or anchor stitches, whereas heavier wools give depth to back‑stitch outlines. Always keep a swatch chart handy to compare color fastness and texture before committing to a full project..!!
Basic Hand Sewing Stitches
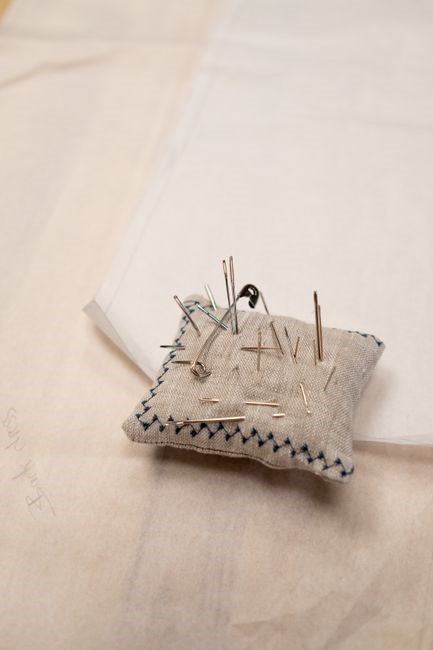
Basic hand stitches form the foundation of any sewing project. The running stitch offers a flexible seam; backstitch provides strength for seams outlines; slip stitch creates a hidden, neat finish; hitch stitch secures hems; anchor stitch anchors fabric edges. Mastering these yields results today now.
Running Stitch
The running stitch is the most fundamental hand‑sewing stitch, prized for its simplicity and versatility. It consists of a series of short, evenly spaced stitches that alternate between the front and back of the fabric, creating a dashed line. Because the needle only passes through the material once per stitch, tension is easy to control, making it ideal for beginners. The stitch is commonly employed for basting—temporary stitching that holds pieces together before permanent seams are sewn. It also works well for gathering fabric, as the repeated passes can pull the material together to create a gathered effect. In addition, the running stitch serves as a basic seam stitch for lightweight fabrics, providing a flexible, breathable seam that can be reinforced later with a stronger stitch if needed. Its straightforward technique allows for quick learning and efficient execution, making it a staple in any sewing kit. Whether you’re assembling a simple patch, attaching a lining, or creating a decorative border, the running stitch offers a reliable, cost‑effective solution that blends ease of use with functional durability. When working with heavier fabrics, a larger needle and thicker thread may be required to maintain stitch integrity. To begin, insert the needle from the back, pull the thread through, and then bring it back out at a slight angle to avoid uneven tension. Finish by knotting the thread securely and trimming excess. Consistent spacing ensures a neat appearance, while slight variations can be used for decorative effect in patterns
Backstitch
Backstitch is a staple of durable hand‑sewing, known for its strength and precision. Unlike the running stitch, the backstitch creates a continuous line of knots that lock each stitch in place, producing a seam that resists pulling and maintains shape. The technique involves inserting the needle from the back of the fabric, pulling the thread through, then immediately bringing the needle back to the same spot on the front side before moving forward to the next stitch. This back‑to‑front motion ensures that each new stitch is anchored to the previous one, forming a chain of interlocking loops. Because the thread is pulled tightly, the backstitch is ideal for seams on heavier fabrics, upholstery, and garments that will endure stress. It also works well for decorative outlines, such as borders or lettering, where a solid, visible line is desired. To master the backstitch, keep the needle steady, maintain consistent tension, and practice aligning each stitch with the previous one. A small knot at the end of the seam can secure the thread, preventing unraveling. With practice, the backstitch becomes a reliable tool for both seams and artistic designs. and more!.
Additional insights highlight that the backstitch’s strength stems from its interlocking nature, which distributes tension evenly across the seam. When used on stretch fabrics, a slight slack can prevent puckering. Sewers often combine backstitch with a running stitch at the start to anchor the first thread, ensuring a secure foundation for the
Slip Stitch
Slip stitch, also known as the invisible stitch, is prized for joining fabric edges without a visible seam. The technique involves passing the needle through the fabric from the underside, catching the thread on the top side, and then pulling the needle back through the same spot to create a tiny loop. This loop is pulled tight, locking the two pieces together. The result is a seamless join that is almost invisible to the naked eye, making slip stitch ideal for garments, lingerie, and projects where a clean finish is essential. To execute a slip stitch, start by threading the needle and cutting a small length of thread. Position the fabric so that the seam line is on the back of the material. Insert the needle from the back, bring it up through the front, and then quickly pull it back through the same spot. Repeat this motion along the seam, ensuring each loop is snug but not overly tight to avoid puckering. A common tip is to keep the thread length short—about 1–2 inches—to maintain control and reduce bulk. After completing the seam, secure the thread with a small knot on the backside and trim any excess. Slip stitch is useful for hemming, attaching lace, or joining fabrics where a visible stitch would be distracting. Slip stitch can be used to create a clean edge on appliqué pieces, ensuring that the decorative layer sits flush with the base fabric. When working with knit fabrics, the slip stitch helps prevent fraying by securing the edges firmly.
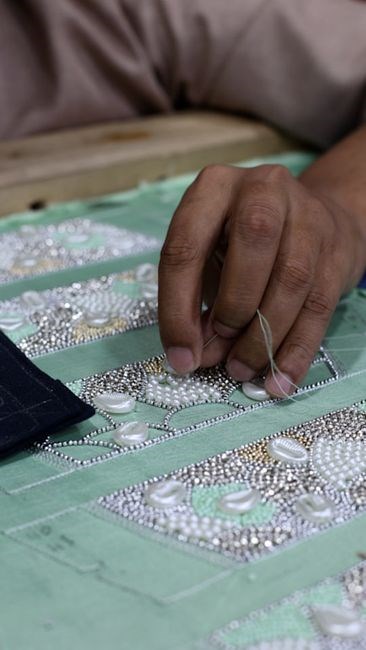
Hitch Stitch
Hitch stitch is a versatile hand‑sewing technique that creates a decorative, yet functional, connection between two pieces of fabric. The stitch begins with a small loop that is formed by pulling the needle through the fabric, then the thread is wrapped around the needle and pulled back through the loop, forming a knot that sits flush against the material. This method is especially useful for reinforcing seams, attaching buttons, or creating a subtle decorative border on quilts and apparel. To perform a hitch stitch, start by threading a needle with a length of thread that is slightly longer than the width of the fabric. Position the needle at the edge of the first piece, pull it through to the opposite side, and then bring it back to the starting point, creating a loop. Wrap the thread around the needle once or twice, depending on the desired thickness, and then pull the needle back through the loop. Tighten the knot gently so that it lies flat against the fabric. Repeat this process along the seam or edge, ensuring each knot is evenly spaced. For added durability, the hitch stitch can be followed by a small backstitch or a running stitch to lock the knots in place. The stitch’s compact size makes it ideal for delicate fabrics such as silk or chiffon, where a bulky seam would be noticeable. Additionally, hitch stitch can be used to attach lace or trim to a garment without compromising the integrity of the base material. When working with heavier fabrics, increase the number of wraps around the needle to create a stronger bond. The hitch stitch’s adaptability makes it a staple in both casual and couture sewing projects, offering a blend of strength and subtlety that is hard to replicate with other hand‑sewing stitches. Lorem ipsum dolor sit amet, consectetur adipiscing elit. Sed do eiusmod tempor incididunt ut labore et dolore magna aliqua. Ut enim ad minim veniam, quis nostrud exercitation ullamco laboris nisi ut aliquip ex ea commodo consequat. Duis aute irure dolor in reprehenderit in voluptate velit esse cillum dolore eu fugiat nulla pariatur. Excepteur sint occaecat cupidatat non proident, sunt in culpa qui officia deserunt mollit anim id est laborum. Curabitur pretium tincidunt lacus. Nulla gravida orci a odio. Nullam varius, turpis et commodo pharetra, est eros bibendum elit, nec luctus magna felis sollicitudin mauris. Integer in mauris eu nibh euismod gravida. Duis ac tellus et risus vulputate vehicula. Donec lobortis risus a elit. Etiam tempor. Ut ullamcorper, ligula eu tempor congue, nisl purus aliquam.
Anchor Stitch
Anchor stitch is a sturdy hand‑sewing method that secures fabric edges and provides a decorative finish. The stitch begins by inserting the needle through the edge of the fabric, pulling the thread to form a small loop, then wrapping the thread around the needle and pulling it back through the loop, creating a knot that sits flush against the material. This technique is ideal for reinforcing raw hems, attaching decorative trim, or creating a subtle border on quilts and garments. The knot’s compact size ensures that the stitch does not bulk up the fabric, making it suitable for delicate materials silk chiffon or lace. When working with heavier fabrics, increase the number of wraps around the needle to strengthen the bond. Anchor stitch can be combined with a running stitch or a backstitch to lock the knots in place, providing extra durability for high‑stress areas. The stitch’s versatility and minimal bulk make it a favorite among quilters, tailors, and hobbyists alike. Lorem ipsum dolor sit amet, consectetur adipiscing elit, eiusmod labore et dolore magna aliqua Ut enim ad minim veniam, quis nostrud exercitation ullamco laboris nisi ut aliquip ex ea commodo consequat. Duis aute irure dolor in reprehenderit in voluptate velit esse cillum dolore eu fugiat nulla pariatur. Excepteur sint occaecat cupidatat non proident, sunt in culpa qui officia deserunt mollit anim id est laborum. Integer in mauris eu nibh euismod gravida. Donec lobortis risus a elit. Etiam tempor. Ut ullamcorper, ligula eu tempor congue, nisl purus aliquam.
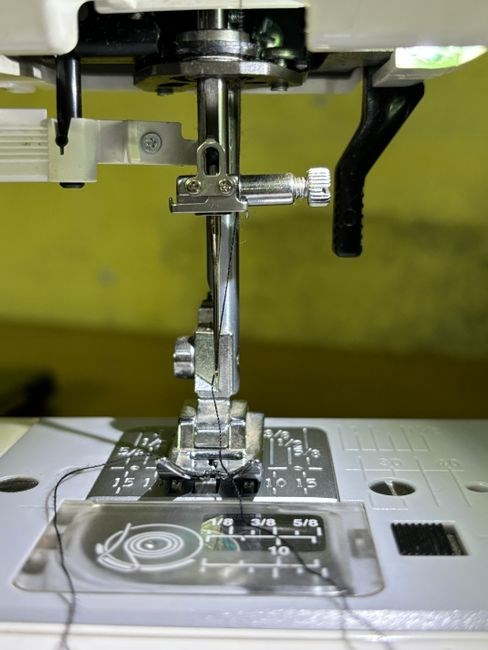
Cross Stitch Fundamentals
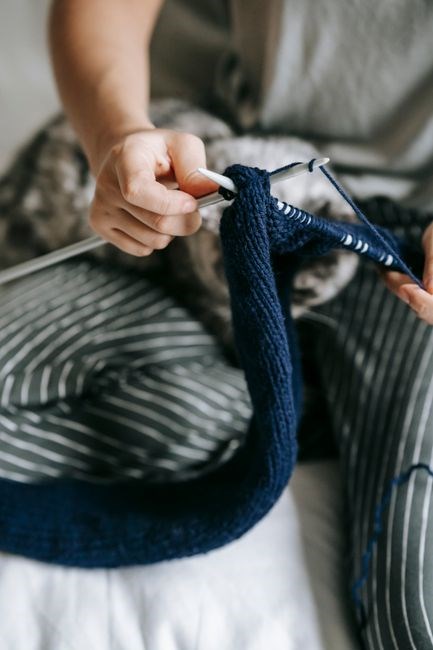
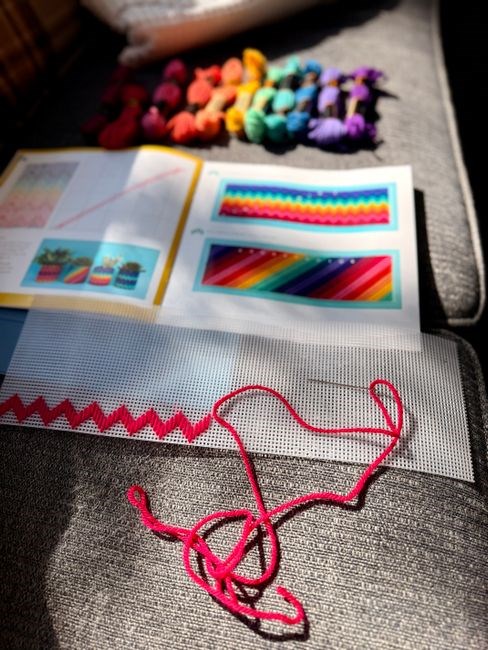
Cross stitching begins with a plain canvas, thread selection, and a hoop. Set up by threading the needle, placing fabric in the hoop, and ensuring even tension. Follow a pattern grid, stitch each X, and secure ends with a knot. Practice yields precision.
Enjoy Now!
Setting Up Your Kit

Begin by choosing the right fabric—cotton or linen with a 14‑count weave offers the best balance between durability and stitch visibility. Measure the pattern area and cut a slightly larger piece to allow for hooping. Thread a needle with a smooth, medium‑weight embroidery thread; a 30‑count or 40‑count is ideal for most kits. Secure the fabric in a hoop, ensuring it lies flat and taut; use a small amount of fabric glue or a hooping clip to keep edges from slipping. Align the pattern grid on the fabric, either by tracing with a washable pen or by placing a transparent pattern sheet over the hoop. Check the tension: the fabric should feel firm but not puckered. Once the fabric is secured, test a few stitches on a scrap piece to confirm needle penetration and thread flow. Finally, keep a small container of spare threads, a needle holder, and a light source nearby to maintain consistency throughout the project. To ensure optimal results, keep a clean workspace, use a light source that mimics natural daylight, and periodically check the thread tension by gently tugging a few stitches; this helps prevent puckering and maintains the pattern’s integrity throughout the project. Replace thread when frayed to keep stitches tidy now. A well‑tensioned hoop keeps the fabric taut, preventing puckering during stitching. Use a light source that mimics daylight to see thread colors accurately, and keep spare threads nearby. Check tension by tugging a few stitches; this helps maintain consistency across the work today;!!
Thread Selection and Management
Choosing the right thread is the cornerstone of a successful stitch project. For cross‑stitch kits, a 30‑count or 40‑count embroidery floss offers a balanced blend of strength and flexibility, while a 60‑count or 80‑count is ideal for larger, more detailed designs that require finer lines. The material—cotton, polyester, or silk—should match the fabric’s weave the desired sheen. The cotton floss provides a matte finish that is forgiving for beginners, whereas polyester offers a tensile strength and a sheen that enhances color contrast. Silk, though more expensive, delivers a lustrous finish and smooth tension, making it a favorite for projects. To avoid color clashes, consider the thread’s lightness, saturation; a light thread can blend into the background, while a saturated hue will stand out. To test a small sample on a scrap piece before committing, use a color wheel or online palette generator. When cutting, use a sharp hobby knife to avoid fraying the ends, and trim the tail to a manageable length. For long projects, consider using a thread gauge to maintain consistent tension; a loose thread will sag, while a tight thread will pull the fabric. Finally, keep a small collection of spare threads for emergencies—broken strands or accidental breaks can halt progress. By carefully selecting the appropriate thread type, color, and maintaining diligent thread management, you ensure a smooth, durable, and visually appealing stitch result that lasts for years. Practice patience, and your stitches shine now.
Hooping and Tension Techniques
Choosing the correct hoop size is the first step toward a flawless cross‑stitch canvas. A hoop that is too small will distort the fabric, while an oversized hoop will leave slack and cause uneven tension. Measure the pattern’s dimensions and add a few centimeters on each side; a 14‑inch hoop is standard for most 11‑count designs, whereas a 16‑inch or 18‑inch hoop accommodates larger works or thicker fabrics. Secure the fabric by placing the hoop’s inner rim on the right side of the fabric and the outer rim on the left, then tighten the screws or use a spring‑loaded mechanism to clamp the material evenly. Ensure the fabric is flat and taut before beginning; a wrinkle will translate into a visible line in the finished piece. Tension is controlled by how firmly the hoop holds the fabric. Too tight and the thread will pull the fabric, causing puckering; too loose and the stitches will appear uneven. Use a tension gauge or simply feel the resistance when pulling a thread across the fabric; a gentle, consistent pull indicates proper tension. When working with multiple hoops, keep the tension uniform across each to maintain pattern integrity. For projects that require a delicate look, consider using a light hoop or a hoop with a rubberized rim to reduce friction and keep the fabric supple. Finally, practice adjusting the tension by tightening or loosening the hoop screws slightly after a few rows; this fine‑tuning ensures that the final design is crisp, even, and true to the pattern’s specifications. In addition, many embroiderers recommend using a tension marker—a very tape or rubber band—placed on the hoop’s edge to indicate the optimal pull point.
Advanced Stitching Techniques
Mastering advanced stitches expands creativity; Techniques like satin, bullion, and French knots add texture, while color‑blocking and thread‑overlays create depth. Precision in tension, needle choice, and layering yields results, turning designs into striking art.!
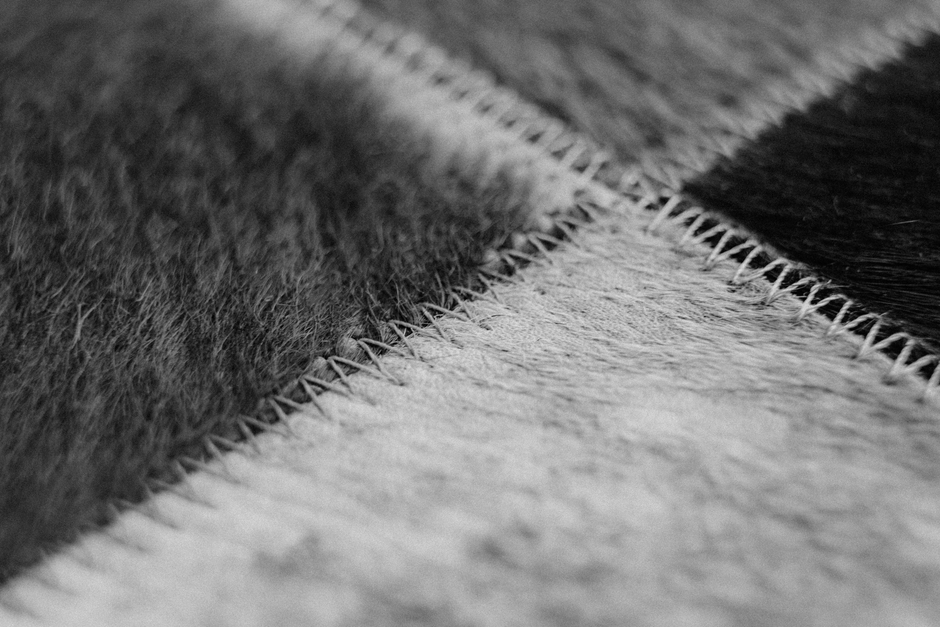
Embroidery Thread Overlays
Thread overlays, often called “over‑stitching” or “layering,” elevate embroidery by adding depth, dimension, and visual interest. The technique involves placing a secondary thread or yarn over a primary stitch or design, creating a translucent or opaque effect that can highlight motifs, outline shapes, or add texture. To execute a successful overlay, begin by selecting a thread color that contrasts or complements the base thread. A lighter shade can produce a subtle glow, while a darker tone adds bold definition. Next, secure the base design on the fabric, ensuring all stitches are tight and evenly spaced. When adding the overlay, use a needle that matches the thickness of the overlay thread; a finer needle yields smooth lines, whereas a thicker needle can emphasize texture. The overlay thread is typically passed through the fabric in a series of short, controlled stitches—often a running or backstitch—following the contour of the underlying design. It is crucial to maintain consistent tension; too loose, and the overlay will sag; too tight, and the fabric may puck. After completing the overlay, knot the thread securely at the back of the fabric, then trim any excess. For added visual impact, consider using metallic or variegated threads, which reflect light and create a shimmering effect. Additionally, layering multiple threads of varying thicknesses can produce a rich, three‑dimensional appearance that transforms a flat design into a tactile masterpiece. This technique layers threads to create depth rich!!.